
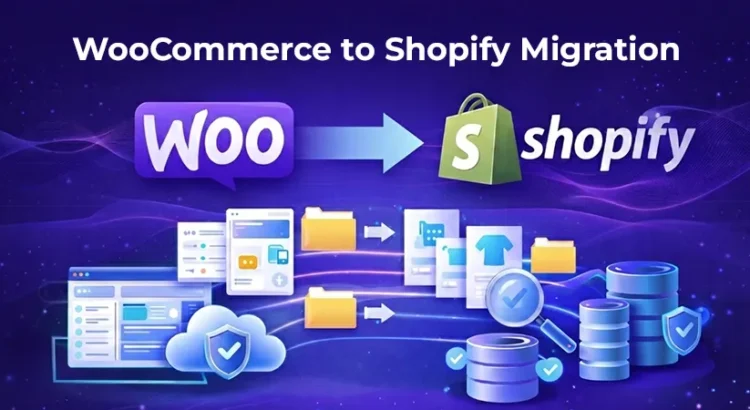
Many online businesses eventually consider a WooCommerce to Shopify migration when they need a platform that is easier to manage, more scalable, and supported by a reliable hosted infrastructure.
As store owners start exploring Shopify, it also helps to understand how the platform is set up and structured before moving data, which is explained clearly in Shopify Store Setup: The Ultimate Guide for Business Owners. Having that foundation makes the transition process much more organized and easier to plan.
Moving a store from WooCommerce to Shopify requires careful preparation, not just data export and import. Product information, customer records, URLs, and store settings all need to be handled correctly to protect SEO performance and store functionality.
This guide focuses specifically on manual migration methods, helping you move your store step by step without relying on automated one-click tools.
Steps to Migrate WooCommerce to Shopify Successfully
If you plan to migrate from WooCommerce to Shopify, it is important to follow a systematic process. Each step plays a role in ensuring that your store data, design structure, and operational settings move correctly to the new platform. The detailed steps are given below.
Step 1: Perform a Full Site Backup and Database Audit
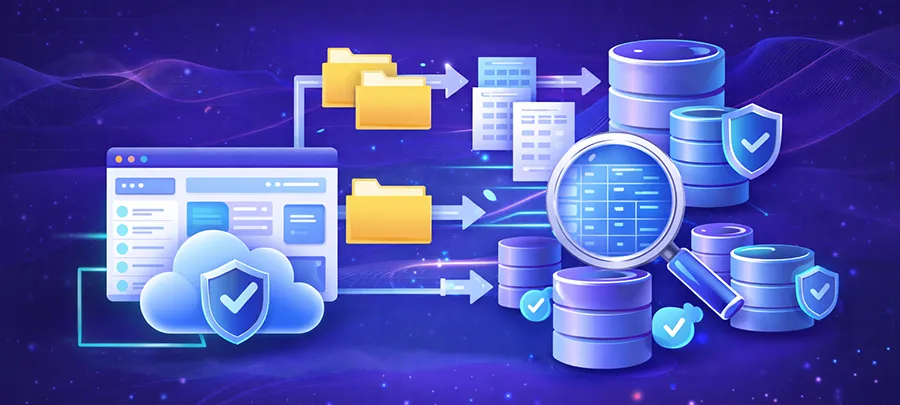
Before starting any migration process, backing up your store is essential. Your store on WooCommerce contains products, images, customer data, order history, plugins, and theme files that must be preserved in case something goes wrong during the transition.
Treat your current store like a cluttered workspace that needs organizing before moving to a new environment. Cleaning unnecessary data will make the migration smoother and prevent bloated export files.
Some important actions to take during this stage include:
- Removing draft or unused products that are no longer needed
- Deleting old revisions and temporary database records
- Clearing expired transients and cached entries
- Removing inactive plugins that are not part of your store operations
- Reviewing product categories and duplicate listings
Tools such as WP-Optimize can help clean your SQL database and reduce unnecessary metadata. When databases contain outdated information, exported CSV files become large and harder to manage. Cleaning the database ensures you export only the data that matters.
You should also download a complete backup that includes:
- Website files
- Database export
- Product images and media
- Theme files
This step ensures you always have a restore point before proceeding further.
Step 2: Export and Sanitize WooCommerce Product Data
The next step is to migrate WooCommerce to Shopify by exporting your product data in a structured format. WooCommerce includes a built-in export tool that allows you to download product information as a CSV file.
Go to: Products → All Products → Export
After exporting the CSV file, open it in Excel or Google Sheets. This stage is very important because WooCommerce product descriptions often contain formatting or shortcodes that are specific to WordPress and may not work properly on Shopify.
During the cleanup process, make sure to:
- Remove WordPress-specific shortcodes such as
- Clean HTML formatting issues that may break layout on import
- Standardize SKU values to avoid duplication errors
- Verify that product image URLs are accessible publicly
- Remove unused columns that are not relevant to Shopify
Shopify does not interpret WordPress shortcodes, so failing to clean these elements can result in messy product descriptions after import. Taking the time to sanitize the data helps ensure your product listings appear correctly in the new store.
You should also double-check product attributes, variations, and stock values during this stage.
Step 3: Map WooCommerce CSV Headers to Shopify’s Schema
When businesses transfer store data between platforms, one of the most technical parts of the process is field mapping. Shopify requires a very specific CSV structure for importing products, which means your WooCommerce export cannot be uploaded directly without adjustments.
To successfully transfer WooCommerce to Shopify, download Shopify’s official product CSV template and manually map your data into the correct columns.
Important mapping examples include:
- Post Title → Title
- Regular Price → Variant Price
- SKU → Variant SKU
Other important fields include:
- Handle
- Body (HTML)
- Product Type
- Tags
- Vendor
- Image Src
One critical rule you must follow is ensuring that every product has a unique Handle. The handle represents the product’s URL slug in Shopify. If duplicate handles exist, Shopify may overwrite product entries during import, which can lead to missing or replaced items.
It is also important to organize variations such as size or color correctly under the same product handle. Proper mapping ensures that the product structure remains intact after migration.
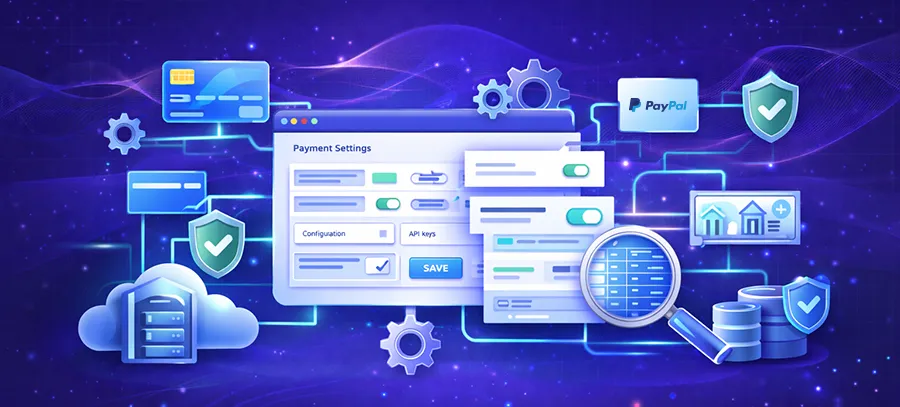
Step 4: Manually Configure Payment Gateways
After product data is prepared, the next step is to configure payment systems in Shopify. Payment settings cannot be transferred through CSV files, which means they must be set up manually.
Go to: Settings → Payments
You will need to configure the payment methods your store accepts.
Common setup steps include:
- Enabling Shopify Payments if it is available in your region
- Reconnecting Stripe accounts
- Connecting PayPal for customer payments
- Entering required API credentials
- Reviewing transaction fee settings
It is also recommended to test payment processing before launching your store. Shopify provides a testing option called the Bogus Gateway that allows you to simulate successful and failed transactions.
If your store previously used advanced payment integrations, working with reliable Shopify website developers can help ensure your payment systems function properly and securely.
This step ensures customers can complete purchases without issues once the new store goes live.
Step 5: Re-establish Tax Nexus and Regional Settings
Taxes are handled differently on each ecommerce platform. When you migrate WooCommerce to Shopify, you must manually configure tax settings to match your previous store structure.
Go to: Settings → Taxes and Duties
This section allows you to define where your business collects taxes and how those taxes are applied to product prices.
Key tasks in this stage include:
- Setting tax regions based on your business location or nexus
- Choosing whether product prices include or exclude taxes
- Recreating manual tax overrides used previously
- Reviewing tax rules for shipping charges
Although Shopify can automatically calculate many taxes, it is still important to verify that the setup matches your original configuration. Some businesses rely on custom tax rules, and those must be recreated manually to avoid billing errors.
Taking time to verify tax settings helps prevent compliance issues and customer confusion later.
Step 6: Handle Image Hosting and Whitelisting
Images are a crucial part of ecommerce stores, and during migration Shopify imports them from the URLs listed in your CSV file. This means Shopify must access the images directly from your old site during the import process.
If your WooCommerce store has security protections such as:
- Hotlink protection
- Wordfence firewall
- Cloudflare firewall
Shopify’s crawler may be blocked from retrieving images.
To ensure a smooth process when you migrate WooCommerce to Shopify, you should temporarily adjust these security settings.
Possible solutions include:
- Temporarily disabling hotlink protection
- Whitelisting Shopify IP ranges
- Allowing external image access during import
- Verifying that each image URL works in a browser
If Shopify cannot access the images, they will not appear in your imported products. This can create additional manual work later, so resolving this beforehand saves time.
After the migration is complete, you can restore your security settings.
Step 7: Migrate Customer Data and Activation Strategy
Customer data is another important element when you transfer an ecommerce store. Exporting customers from WooCommerce allows you to retain valuable user information such as names, emails, and addresses.
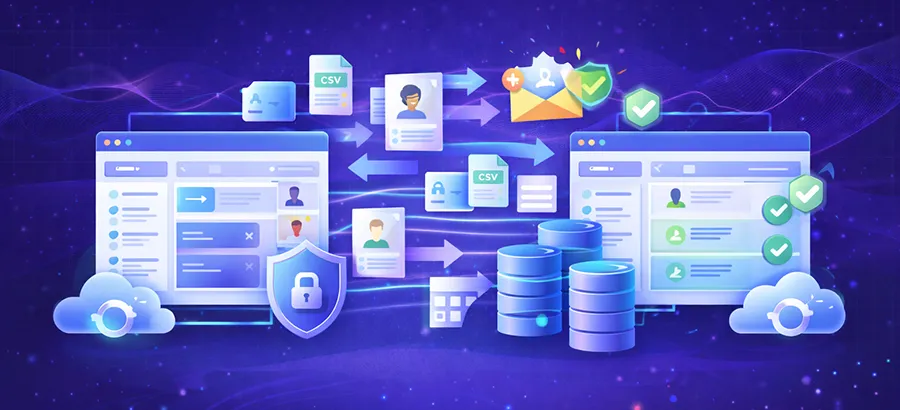
To migrate WooCommerce to Shopify, export your users and import them into Shopify’s customer system.
However, there is one important limitation: passwords cannot be transferred because both platforms use different encryption methods.
A practical approach to handling customer accounts includes:
- Importing customers in a disabled state
- Waiting until the store is ready to launch
- Sending bulk invitations to activate accounts
- Asking customers to reset their passwords
This method prevents login errors and confusion among returning customers.
It is also helpful to inform customers about the platform change through email communication, explaining that they may need to create a new password.
Step 8: Rebuild Shipping Zones and Table Rates
Shipping configuration is stored in the WooCommerce database and is not included in product exports. Because of this, you must manually rebuild shipping settings in Shopify.
Businesses that migrate from WooCommerce to Shopify often find this step important because shipping rules directly affect checkout accuracy.
You will need to recreate:
- Shipping Zones
- Shipping Profiles
- Weight-based shipping rates
- Zip-code-based delivery rules
- International shipping settings
If your store previously used advanced shipping logic such as table rate shipping, you will need to replicate those tiers manually. Shopify allows detailed shipping configurations, but the rules must be entered again during setup.
Carefully reviewing shipping calculations ensures customers receive accurate shipping charges during checkout.
Step 9: Create 301 Redirects for SEO Continuity
Search engine rankings and indexed pages are valuable assets for any ecommerce store. During migration, URL structures often change between platforms.
WooCommerce URLs typically appear like:
/product/product-name
Shopify URLs usually follow:
/products/product-name
To successfully transfer WooCommerce to Shopify without losing SEO performance, you must create 301 redirects.
Go to:
Online Store → Navigation → URL Redirects
Upload a CSV file containing:
- Old Path
- New Path
Redirects ensure that visitors and search engines automatically reach the correct pages on your new store instead of encountering broken links.
Without redirects, your site may experience:
- Ranking drops
- Lost traffic
- Increased bounce rates
- 404 errors
Planning redirects carefully helps maintain search visibility after migration.
Step 10: Reconstruct Collections Using Product Tags
WooCommerce organizes products through categories, while Shopify uses collections. These two systems work differently, so categories need to be recreated in a new format.
When you migrate WooCommerce to Shopify, a practical solution is to convert categories into product tags.
The process involves:
- Adding category names as tags in your product CSV file
- Importing products into Shopify
- Creating automated collections based on those tags
For example, you can create a rule such as:
Product Tag is equal to a specific category name.
This method effectively rebuilds your product organization and helps customers navigate the store easily.
It also allows Shopify to automatically group products based on your defined tags.
Step 11: Manual Theme Reconstruction (PHP to Liquid)
One of the biggest differences between platforms is how themes are built. WooCommerce themes run on WordPress and use PHP, while Shopify themes use a templating language called Liquid.
Because of this, you cannot directly import a WordPress theme into Shopify.
When businesses migrate WooCommerce to Shopify, they need to rebuild their store design.
Important tasks during this stage include:
- Selecting a Shopify theme that matches your brand style
- Rebuilding homepage sections and layouts
- Adjusting typography and color schemes
- Customizing navigation menus
- Editing CSS for design consistency
If your WooCommerce store relied on custom functionality inside the functions.php file, you may need:
- A Shopify app with similar functionality
- A custom Liquid snippet
- Additional theme customization
Although the design may not look identical at first, careful customization can help achieve a similar visual experience.
Step 12: Final Domain Cutover and DNS Update
The final stage is pointing your domain to Shopify so your new store becomes publicly accessible.
To complete this step when you migrate WooCommerce to Shopify, update your DNS records.
Required changes include:
- A Record → 23.227.38.65
- www CNAME → shops.myshopify.com
Once DNS updates are applied, the domain will start directing traffic to your Shopify store.
After propagation:
- Shopify automatically provisions an SSL certificate
- You should test the HTTPS version of the site
- Verify pages load correctly
- Disable store password protection
- Test checkout again
At this point, your store is officially live on Shopify.
If you want to better understand how to prepare and organize your store after migration, you can read a step-by-step guide to setting up a Shopify store.
Summary of WooCommerce to Shopify Migration
A successful WooCommerce to Shopify migration requires careful preparation, accurate data handling, and structured execution. From auditing your existing store and exporting product data to rebuilding shipping rules and configuring payment systems, every step plays a crucial role in ensuring a smooth transition.
Following a manual approach allows you to review your store data, clean unnecessary information, and rebuild your ecommerce setup more effectively. The process involves backing up your store, mapping CSV fields correctly, recreating collections, setting up taxes and shipping, and thoroughly testing the new store environment.
When these steps are followed carefully, businesses can move their ecommerce operations without losing important data or search visibility. Planning ahead, testing each stage, and seeking expert assistance when needed can make the migration process far more efficient and reliable.